It’s not all that often that I come up with an idea of an easier way to do something that works out as nicely as this one did. But that’s what happened with this simple window cornice project that I achieved using only minimal sewing and two curtain rods. Yup, no building and box, covering it, and figuring out how to hang it. Just hit the easy button with this guy. I did learn an important lesson along the way, so read on so that you don’t repeat my mistake!
Here is what I was working with compared to the finished product – so much better, right? The entire project took me probably an hour or so, so it’s totally doable.


The gist is that you’re going to hang two curtain rods, one below the other, and just wrap them with fabric. Like this:

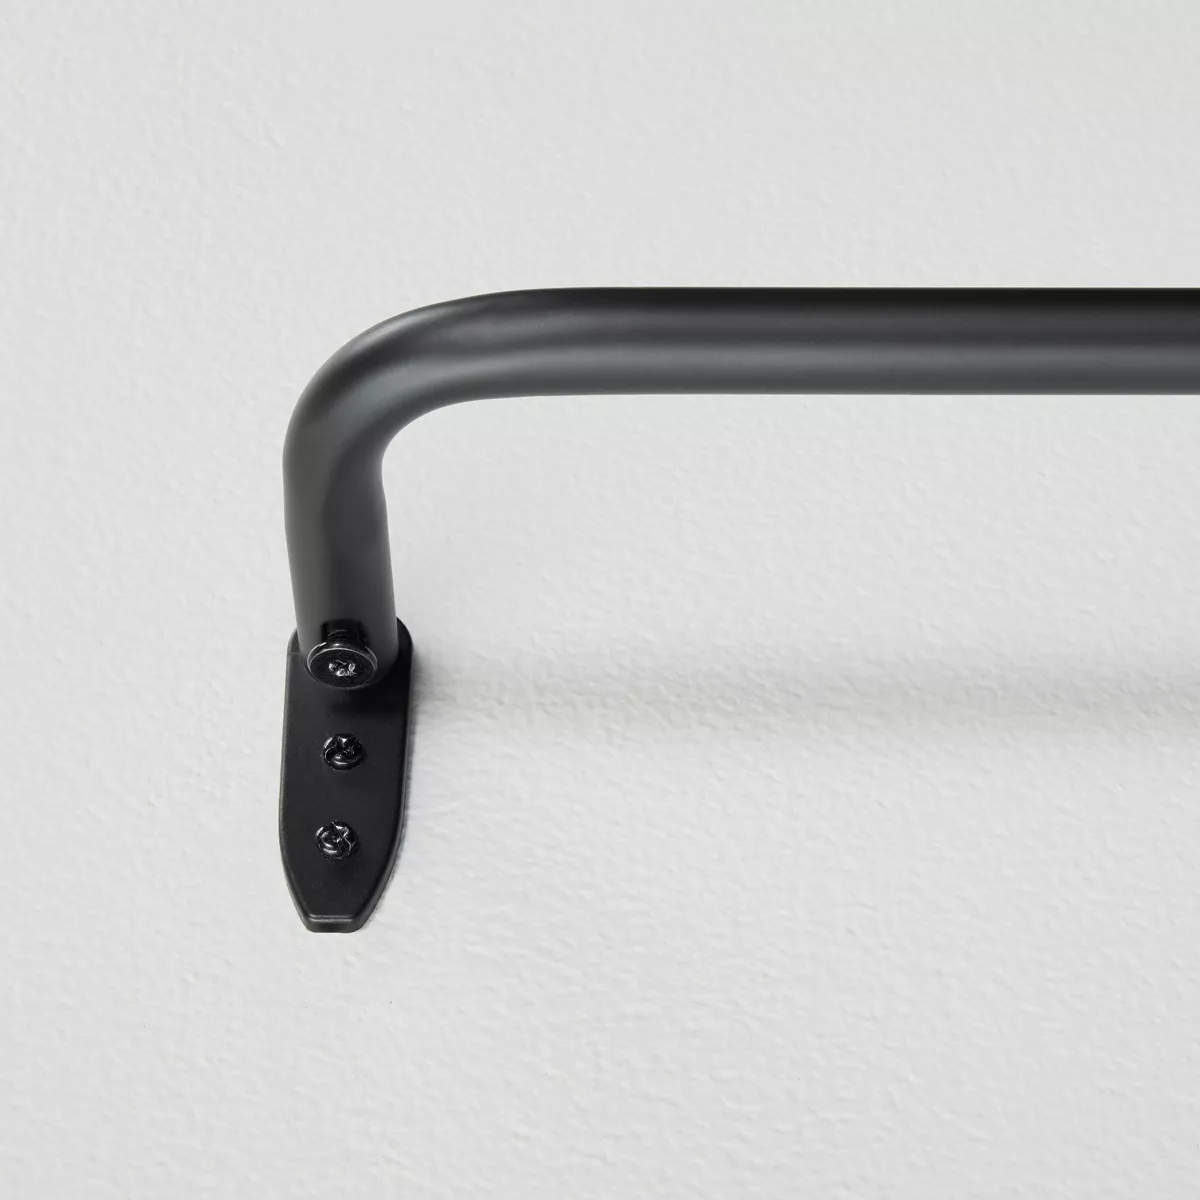
I sewed my fabric, but that part is on the back, so you could technically staple or something if you don’t have a sewing machine. I’ll go through the simple step by step, but, first, let me mention my lesson learned. You will need to buy two curtain rods. You can see above that mine don’t even match, and that’s okay, because they should not be seen when you’re done. And that’s where I failed; these have the bracket lower than the bar so that when you wrap them, part of the bracket is visible. I ended up just painting mine the color of the wall once they were up, but you could do better by buying a better curtain rod (example below).


You will need enough fabric to wrap the rods and make the cornice the size you want. I used upholstery grade fabric; it just has a better weight for projects like this. This particular fabric is from Spoonflower by designer wild&bloom, and 1 yard (56″ x 36″) was plenty with a good bit left over. I love it and hope it will warm and fun up our soon to be revealed kid’s bathroom renovation. You will also want some upholstery batting to go behind the fabric; this makes your fabric look very smooth once it’s up. Alright, let’s get going!
- Hold up curtain rod to window to figure out how wide it will be. Once I chose my width, I used painter’s tape to tape the rod to hold it at that width. Like this.

- Measure your rod, taking into account the curves. Like this.

- Cut your fabric and batting to be a few inches longer than the measurement you just made on each side. We do this because there will be some folding under involved before we’re done. The height is really dependent on the size you want your cornice to be. I cut my fabric to 23″ and my cornice ended up being 10″ high.
- Put your batting piece behind your fabric and fold in half with right sides together. Sew raw edges on the long side only and turn right side out. Nothing will be finished looking right now; you will just have a little “tube” of fabric backed with the batting. When you “install” your fabric on the rods, you’ll want to just make sure the seam is on the back out of sight.

- Hang your top rod and remove your tape if you taped it.
- Put your fabric on the top rod; it will just be hanging at this point. Go ahead and form it to the rod now as best as you can turning under the ends to wrap the rod and meet the wall. Once it’s on the second rod it will be very tight, so it will be a little hard to change where you turned your fabric under (although I was able to adjust mine with some work).
- Fit your second rod into the fabric and pull down so it’s as tight as possible. Really, you want that fabric pulled super tight. Make your marks for where that bracket needs to be and hang the brackets. Install the rod through the fabric, so that you’ll have something like this.

- Now, just spread fabric out, smooth it, and modify folded under parts until you get a nice smooth “window cornice” that’s really just some fabric wrapped around two curtain rods!
Now, that’s just gorgeous, right? I hope you enjoyed this simple window cornice project!


